I have fallen down a rabbit hole. OK so I fall down different rabbit holes every few weeks but this one is completely out in left field.
Hawaiian quilts.
Yep, I decided one of my dolls needed a Hawaiian quilt. Normally my approach to doll quilts are “anything goes” within reason. Color, pattern, etc. etc. Some types of quilts need to be specific in design and color. I have seen quilts made for Kwanzaa and those have particular symbols and motifs. The other area I have noticed particular motifs in, Hawaiian quilts.
Mr. Wikipedia says this about Hawaiian quilts:
“A Hawaiian quilt is a distinctive quilting style of the Hawaiian Islands that uses large radially symmetric applique patterns. Motifs often work stylized botanical designs in bold colors on a white background. Hawaiian quilt applique is made from a single cut on folded fabric. Quilting stitches normally follow the contours of the applique design.
Quilting may have begun in the Hawaiian islands with the arrival of missionaries and Western fabrics in the 1820s. The climate of Hawaii is unsuitable for cotton cultivation and kapa is unsuitable for quilting so all Hawaiian quilts are constructed from imported material. The earliest written reference comes from Isabella Bird who visited Hawaii in 1870 and wrote a travelogue Six Months in the Sandwich Islands. ”
Thank you Mr. Wikipedia!
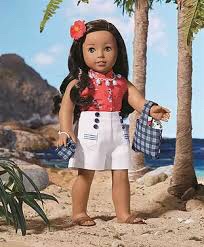
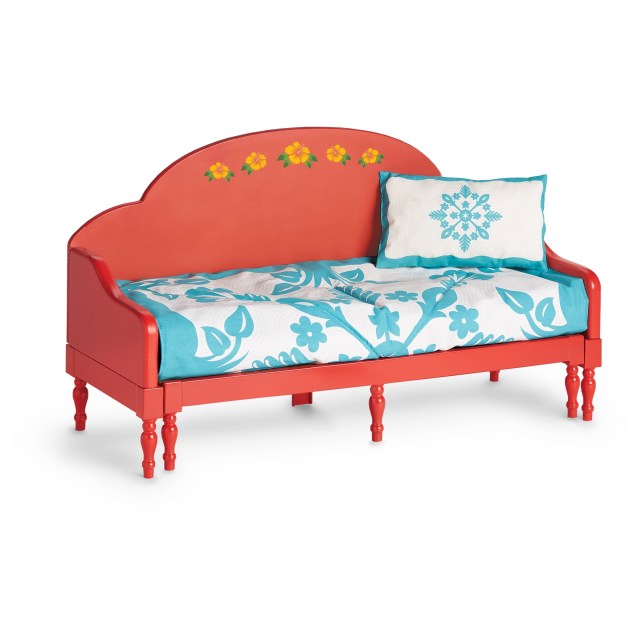
The doll I am making this for inhabits the world of 1941 aka during WWII. When I saw the “quilt”(I use that term loosely in this case) that the company I bought her from designed for her, I wasn’t impressed. It looked like something you could buy from Pottery Barn teens. So I told myself I could make a better one and so far I have!
Now I can say that I DID cut my designs on the fold but I DID NOT do it with one cut. This was my first ever applique project and I wasn’t putting that kind of pressure on myself. Also the color of fabric I choose for this quilt was one from my stash……..I want it gone! Seriously I do. So I am not sure if the color is 100% correct for these quilts.
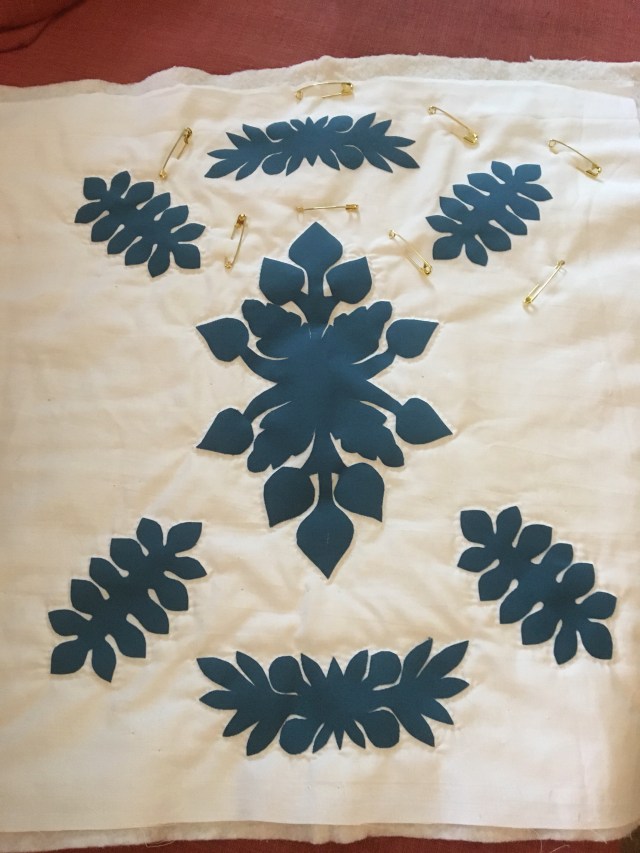
First I traced out my design a million times (seemed like it) onto Heat n bond. Yep I cheated. Again this was my first project and I wanted to enjoy the process. This part of the process was easy yet time consuming. Then I positioned the appliques onto the white background fabric ( I just used mid grade white muslin, I had it in my stash). Next was ironing and following the directions on the package.
After adhering the design to the top, I sandwiched my batting and backing together, the same way you would a normal quilt. I use huge quilting safety pin thingy’s to keep my layers from traveling while I am quilting it.
When I first started this project, I thought that you just quilted around the designs and then voila! your done. Nope……….. Turns out that you do quilting lines around the contours of the designs until the whole background is quilted. This is the part I am at.
So here is my progress shot! Until next time!